

For those of you who have updated to Yosemite 10.10.3 and realised your iPhoto looks a bit like the above picture, don’t stress too much. If you were using Yosemite prior to updating to 10.10.3, there is a way to get your iPhoto back up and running.
However, any editing changes or additions you make to your iPhoto library, will not be picked up and reflected in your Photos library.
Here’s how to get iPhoto back:
– Open The App Store on your mac

– Hit the Purchases tab up the top

You will then see a list of applications that you have previously purchased or downloaded.
 – Look for the iPhoto application within the list
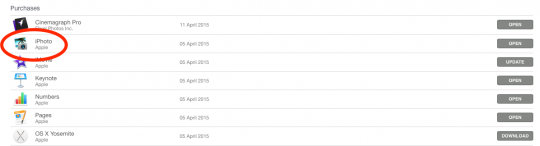
As you can see in the list above, there are the options to open, download, or update.
– If your iPhoto application has the ‘update’ option showing, hit update.
This will then download the up to date version of iPhoto that is usable with the Yosemite 10.10.3 software.
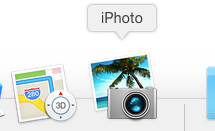
iPhoto will now open for you and run.
Note: If you happen to have upgraded to Yosemite 10.10.3 from a later operating system (Mavericks or earlier), unfortunately there is no easy way to get iPhoto up and running on your newest OS.
You will have to integrate everything into Photos. Or look into an alternative program such as Adobe Lightroom.
For more information on Adobe Lightroom, you can look on Adobe’s website here.