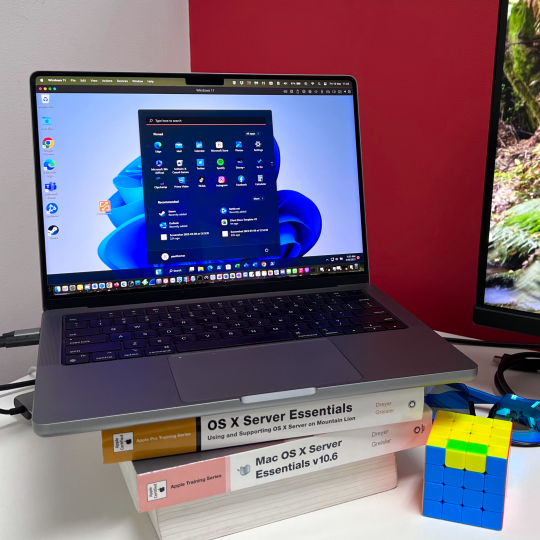
With the arrival of Apple Silicon in M1 and M2 Macs one downside has been the loss of the ability to install Windows as we could on Intel based Macs.
As a Mac user, you might be wondering why you would want to use Windows 11 on your M1 or M2 device. There are still applications that are only available on Windows, and if you need to use these programs for work or school, you may have no choice but to run Windows on your Mac. And so for some of us, being able to run the occasional Windows app might be essential to being able to use a Mac at all. Additionally, there are some tasks that can only be done using Windows, such as gaming or certain types of programming.
It has been possible to install Windows on M1 and M2 Macs using Parallels as an insider build for quite some time, but this was not an officially supported Microsoft implementation. But Microsoft are now officially supporting this solution, and the installation has been made simpler too.
Is your M1 or M2 Mac up to running Windows 11?
Installing Windows 11 using Parallels means that your Mac will be running Windows 11 in addition to running MacOS. So this is not like BootCamp, which allowed you to run macOS OR Windows. So stop to consider whether your M1 or M2 Mac has enough system resources to do this. Mac Aid would recommend at least 16GB Ram and having 100GB of free space available on your SSD. If you are intending to use Windows apps that may be more resource intensive, like design software, video or audio editing applications, or gaming, make sure to take their recommended hardware specifications into account.
Will the apps you want to run work in Windows 11 ARM?
The version of Windows 11 that you can run on an M1 or M2 Mac is the ARM version. Most common Windows apps should now be compatible, but some edge-case apps or plug-ins may not. Check with your software vendor to make sure that your Windows apps and their plug-ins are compatible.
How to install Windows 11 on your M1 or M2 Mac
First, you’ll need to make sure that you have the latest version of macOS installed on your Mac. Then you’ll need to download and install the latest version of Parallels Desktop for Mac.
Once you install Parallels Desktop it detects what you need to get started so you can get up and running quite quickly. If you need Windows, you’ll be prompted to download and install Windows 11. You will need to purchase a Windows 11 license in addition to licensing Parallels.
Benefits of using Parallels to run Windows 11 on Apple Silicon
One of the biggest benefits of using Parallels to run Windows 11 on your M1 or M2 Mac is that it allows you to seamlessly switch between macOS and Windows. This means that you can use both operating systems on the same machine, without having to reboot or switch between different operating systems.
Using Coherence Mode you can make Windows itself invisible while still using its applications, or if you’re new to Mac, you can have Windows occupy your entire screen, so it looks just like it would if you were using a Windows 11 PC.
If you need to run Parallels and Windows 11 on your M1 or M2 Mac give Mac Aid a call.


