Chances are you use Preview all the time, someone sends you a PDF or an image, you double click to open it up, look at it and move on. It’s a simple app, but if you take the time to look around, you’ll realise it’s a very useful tool with quite a few handy features. You might even be paying for an expensive graphics app designed for impressive technical feats but just using it for basic tasks that are available to you right here for free.
Have you ever taken the time to look at what all those buttons in Preview do? While some of them are pretty obvious, like ‘Zoom’, ‘Share’, and ‘Rotate’, what about the others? From filling in forms or making notes on a PDF document to some quite handy photo editing tools, you may be surprised just how often Preview may be the program that can do exactly what you need.
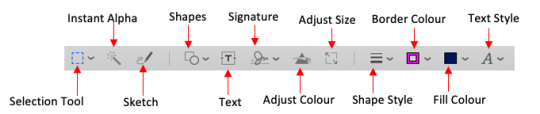
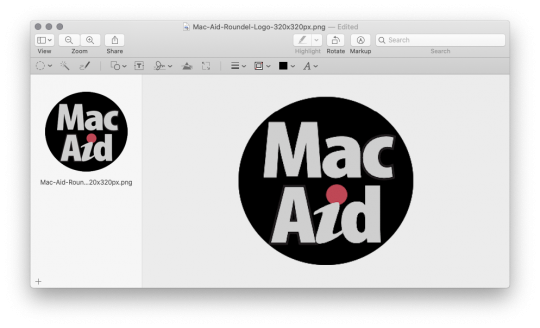
Make the  button your friend. Clicking on it opens up the ‘Markup Tool Bar’, which opens up many possibilities. If you are looking at an image, this will likely be what you see (it may vary slightly depending on your OS). Depending on if you are viewing text or an image, some of the options will vary.
Here are just some of the helpful things you can do with Preview that you may be unaware of:
FILLING OUT FORMS AND SIGNING PDF’S
Have you been sent a PDF form to fill out and sign, but it doesn’t have those handy boxes that allow you to type directly onto the document? Or maybe it does, but then how do you sign it at the end? Hands off the print button, it can all be done right here.
- Select the Markup Icon, which will open the markup toolbar.

- Click the Text icon.

- Use this to place text boxes on the document wherever you need to fill in the information, you can change the font, size, colour, etc. and drag it around into position.
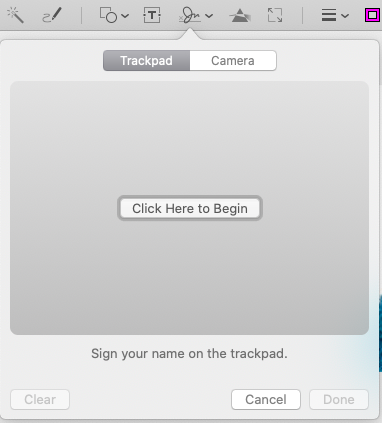
- Need to sign it? Select the ‘Sign’ icon
 you can then select an existing signature or create a new one. If you use a trackpad, you can simply sign with your finger, or you can sign your name on a white piece of paper and select the camera option to scan your signature.
REMOVING, ADDING OR MOVING PAGES IN A PDF
- In the top menu select ‘Edit’ > ‘Insert.’
- You can choose to insert a blank document or choose another file.
- Go to the view menu and select ‘Thumbnails’ This will allow you to see all your pages in a sidebar at the left, click and drag the thumbnail to reorder or select and Delete to remove.
Preview isn’t just helpful when it comes to text, it also has some excellent photo editing tools. While it doesn’t compare to a tool like Photoshop, if you’re not a designer or photo editor, the simple tools available might be all you need.
SLIDESHOW
- In the menu select: ‘File’ > ‘Open’ select all the images you want to include and click ‘Open’.
- Then in the menu ‘View’ > ‘Slideshow’.
- This will commence autoplay, or you can use the buttons to pause and/or navigate through your images.
Some of the most common uses of an app like Photoshop are resizing and cropping images and saving them in different file formats. If that’s all you need, Preview can do that for you.
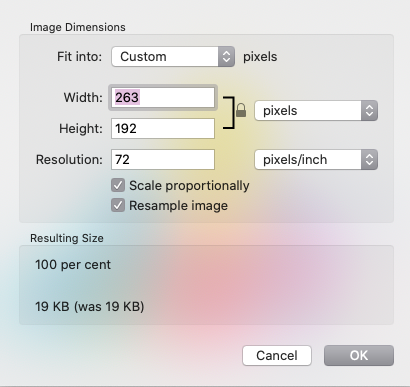
CHANGING THE SIZE OF AN IMAGE
- In Markup, Select the ‘Adjust size’ icon.
- You will see several different options, which allow you to choose the number of pixels, the resolution, and it will also let you know what file size the image will be.
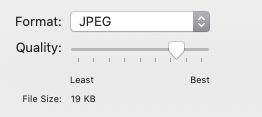
CHANGE IMAGE FORMAT
- To save an image in a different format, select ‘File’ > Export’.
- The dropdown ‘Format’ box will allow you to choose the file type, with some giving you a slider to raise or lower the image quality, which in turn adjusts the file size.
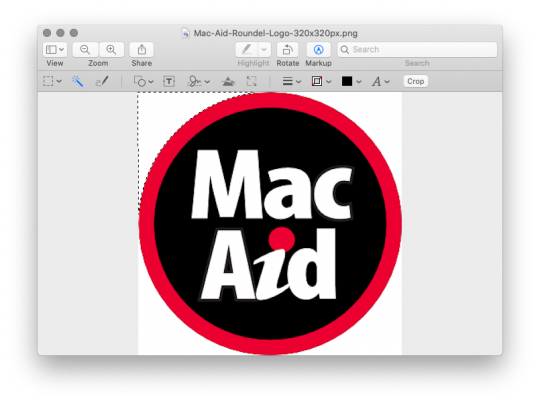
CROP
- Choose the appropriate shape in the ‘Selection Tools’.
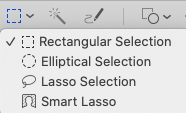
- Click and drag to select part of the image. You can move it around and adjust the size until you have the exact area you want, click on the ‘Crop’ button that will have appeared.
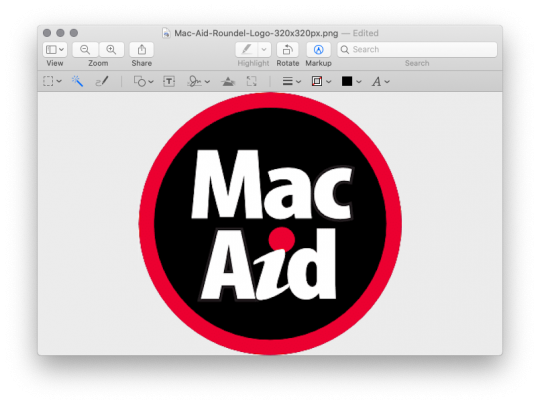
- You can then save the image or Export it as whatever file type you wish.
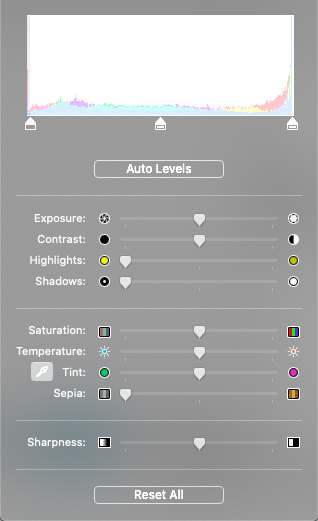
IMAGE COLOUR CORRECTION
- Select Markup Tool.
- Select Adjust colour.
- You can select AutoCorrect or use the sliders to adjust each option individually.
REMOVING A PLAIN BACKGROUND FROM AN IMAGE
- Select the ‘Instant Alpha’ tool in the Markup menu.
- Click the background and drag the curser. You will see the background turn red momentarily, followed by a dotted line appearing around the image.
- Press ‘Delete’ to remove the background.
- You can repeat this several times if there are different segments you wish to delete.
SELECT PART OF AN IMAGE AND PLACE IT INTO ANOTHER:
- Using one of the ‘Select’ options (Rectangle, Ovals, Lasso or smart lasso), choose the part of the image you want to use in another image. Once selected, copy using the keyboard shortcut ‘Command C’ or right-click and select ‘Copy.’
- Click the thumbnail of the image you want to use the newly selected on, paste using the keyboard shortcut ‘Command V’ or right-click and select ‘Paste.’ You can then click and drag the pasted image into place.
This article is by no means everything Preview can do but is intended to give you an idea of what is possible. If you have found any of these tips helpful, have a bit of a click around yourself and discover what other tasks Preview can assist you with.